I hosted a baby shower for a dear friend a few months back. I usually make diaper cakes for baby showers but this time around I decided to make a diaper wreath instead. This was actually very easy and I was so pleased with how it turned out.
This is what you will need:
· Diapers- I used about 36 size one diapers. I used the Target brand diapers that had blue, green and gray stars since the diapers would be seen but you can choose any brand/pattern that works for you.
· One metal wreath form. You can do any size that you like. I opted for a 20 inch one.
· Ribbon for attaching the diapers to the wreath. You could also use rubber bands.
· Tulle/Ribbon for decorating and bow.
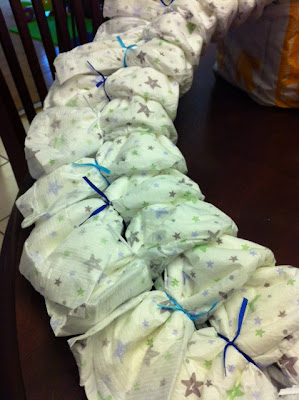
First, wrap the diaper around the wreath form so that the wreath form is inside the diaper. The top of the diaper should be on the outer ring of the wreath and the bottom of the diaper should be on the inner ring. Gather the top of the diaper together and secure with a ribbon. Repeat with each diaper, slightly overlapping the next diaper over the last one added.
Once all of the diapers have been added the wreath form should not be visible and it will look like this (pardon the mess on my table!):
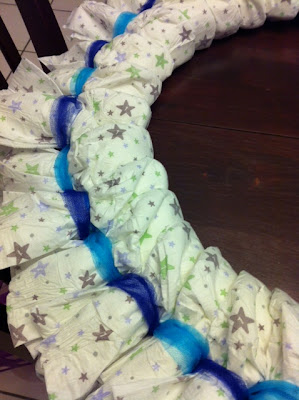
Now comes the decoration part. I used two different colors of blue tulle to wrap around the diapers to cover up the ribbons used to secure them to the wreath form. I simply took one color and wrapped it over one diaper and then under the next, all the way around the wreath. With the second color, I wrapped it over the remaining diapers and under the diapers with the first color on top.
Once both colors are added it should look like this.
Next, I added a tulle bow.
Here’s the finished product hanging on my front door with a sign with the baby’s name in the middle.
I wish I would have made the sign a little bit bigger but I didn’t realize how small it looked with the giant wreath until about 10 minutes before everyone arrived. Oops! I’ll do better next time!
Enjoy!


